I am journalling how I make a smart phone case. Anyone is welcome to use this as a starting point for free, with the full understanding and agreement that all use is strictly AT YOUR OWN RISK. If you appreciate the information in this work, please feel free to leave a donation using my PayPal button on the side bar.
In this blog entry I will start with a pattern I have purchased from Tandy Leather Factory, which neither approves nor disapproves our crafting. We have no relationship with Tandy other than that we purchase many of our tools and supplies from them, and they have been a good, reliable supplier with many valuable training videos in their Leathercraft Library.
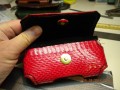
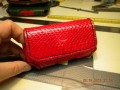
I recommend that you start with the Tandy Leather Factory kit 44263-00 Smart Phone Case. This is a nice kit and if you make everything according to the included instructions I feel you will surely be quite pleased with the result. The reason that I am journalling this process is to show how to go beyond what this kit does by adding pig skin leather lining and optionally a snake skin covering.
I used the following supplies:
- Tandy 44263-00 Smart Phone Case Kit
- a piece of veg-tanned tooling cowhide
- a piece of pigskin for your leather lining
- Elmer’s CraftBond Rubber Cement (for the pigskin)
- a piece of snakeskin for your covering, if you intend to cover your project with snake skin. I also got this at my local Tandy store.
- Tanner’s Bond Craftsman Contact Cement (for the snakeskin, if you are applying snakeskin)
- dye in the color of your choice, if you are not going to cover your case with snake skin
- A magnetic bag clasp or snap
- Rivets
- Waxed Artificial Sinew
I also use these tools:
- a pencil to trace the pattern
- a sharp knife for cutting out the pattern
- a punch awe for marking the holes
- a 16 ounce rubber mallet for smacking things
- a Craftool Round Drive Punch #4 (5/32″)
- a Craftool Edge Beveler Size #4
- a rivet setter set
- a stitching chisel (to make the holes for stitching)
- a couple of stitching needles
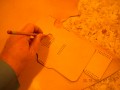
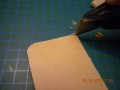
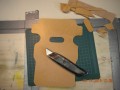
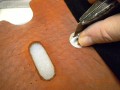
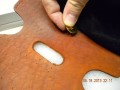
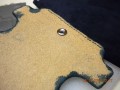
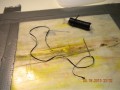
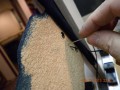
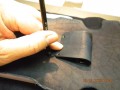
Use the leather in the kit to trace the pattern onto the hide. Don’t bother with marking the holes at this time, except you probably do want to mark the oval which will be on the bottom of the case. This oval makes it easier to remove the phone from the case. Cut the project off the cowhide so you can take it back to your workbench and sit down to cut it the rest of the way carefully on your cutting board.

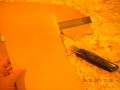
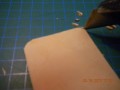
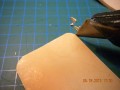
Cut the project out of the hide carefully at your workbench. Remember, to cut corners, it can be easier to make several small diagonal cuts than it is to try to perfectly trace the arc of the corner. Keep the larger trimmings as they may be useful later.
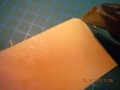
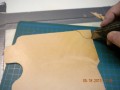
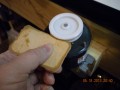
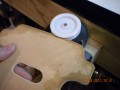
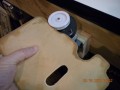
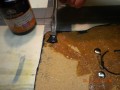
IF you are going to cover the outside of your project with snakeskin, then DO NOT bevel the edges, as you want the cowhide to fit tightly with the snakeskin right up to the edge and you will bevel it later, after the snake skin is attached. IF you are not going to cover the project in snakeskin then you should bevel the outside edge now. I use a #4 Craftool Edge Beveler I bought from Tandy. Do your edge beveling BEFORE you dye the leather — you want the leather as hard and dry as possible to cut the bevel or you’ll have the tool snagging and fighting all the way. If you beveled the edge then wet it and smooth it.
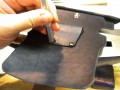
If you are not using snakeskin on the outside, then dye your project. If you are, then do not dye it. There is no need to dye the inside in either case because you will cover that with rubber cement and apply the pigskin liner. After the dye is dry, or if you are not dying your project, it is time to add the pigskin liner. We begin at the top and place the pigskin good side DOWN facing the outside of the project. We will flip the pigskin over after we stitch it, making a nice pigskin covered ledge on the edge of the phone case, and then glue the bad side to the inside of the project. For this to work we must glue the edge of the pigskin good side down to the edge of the phone case.
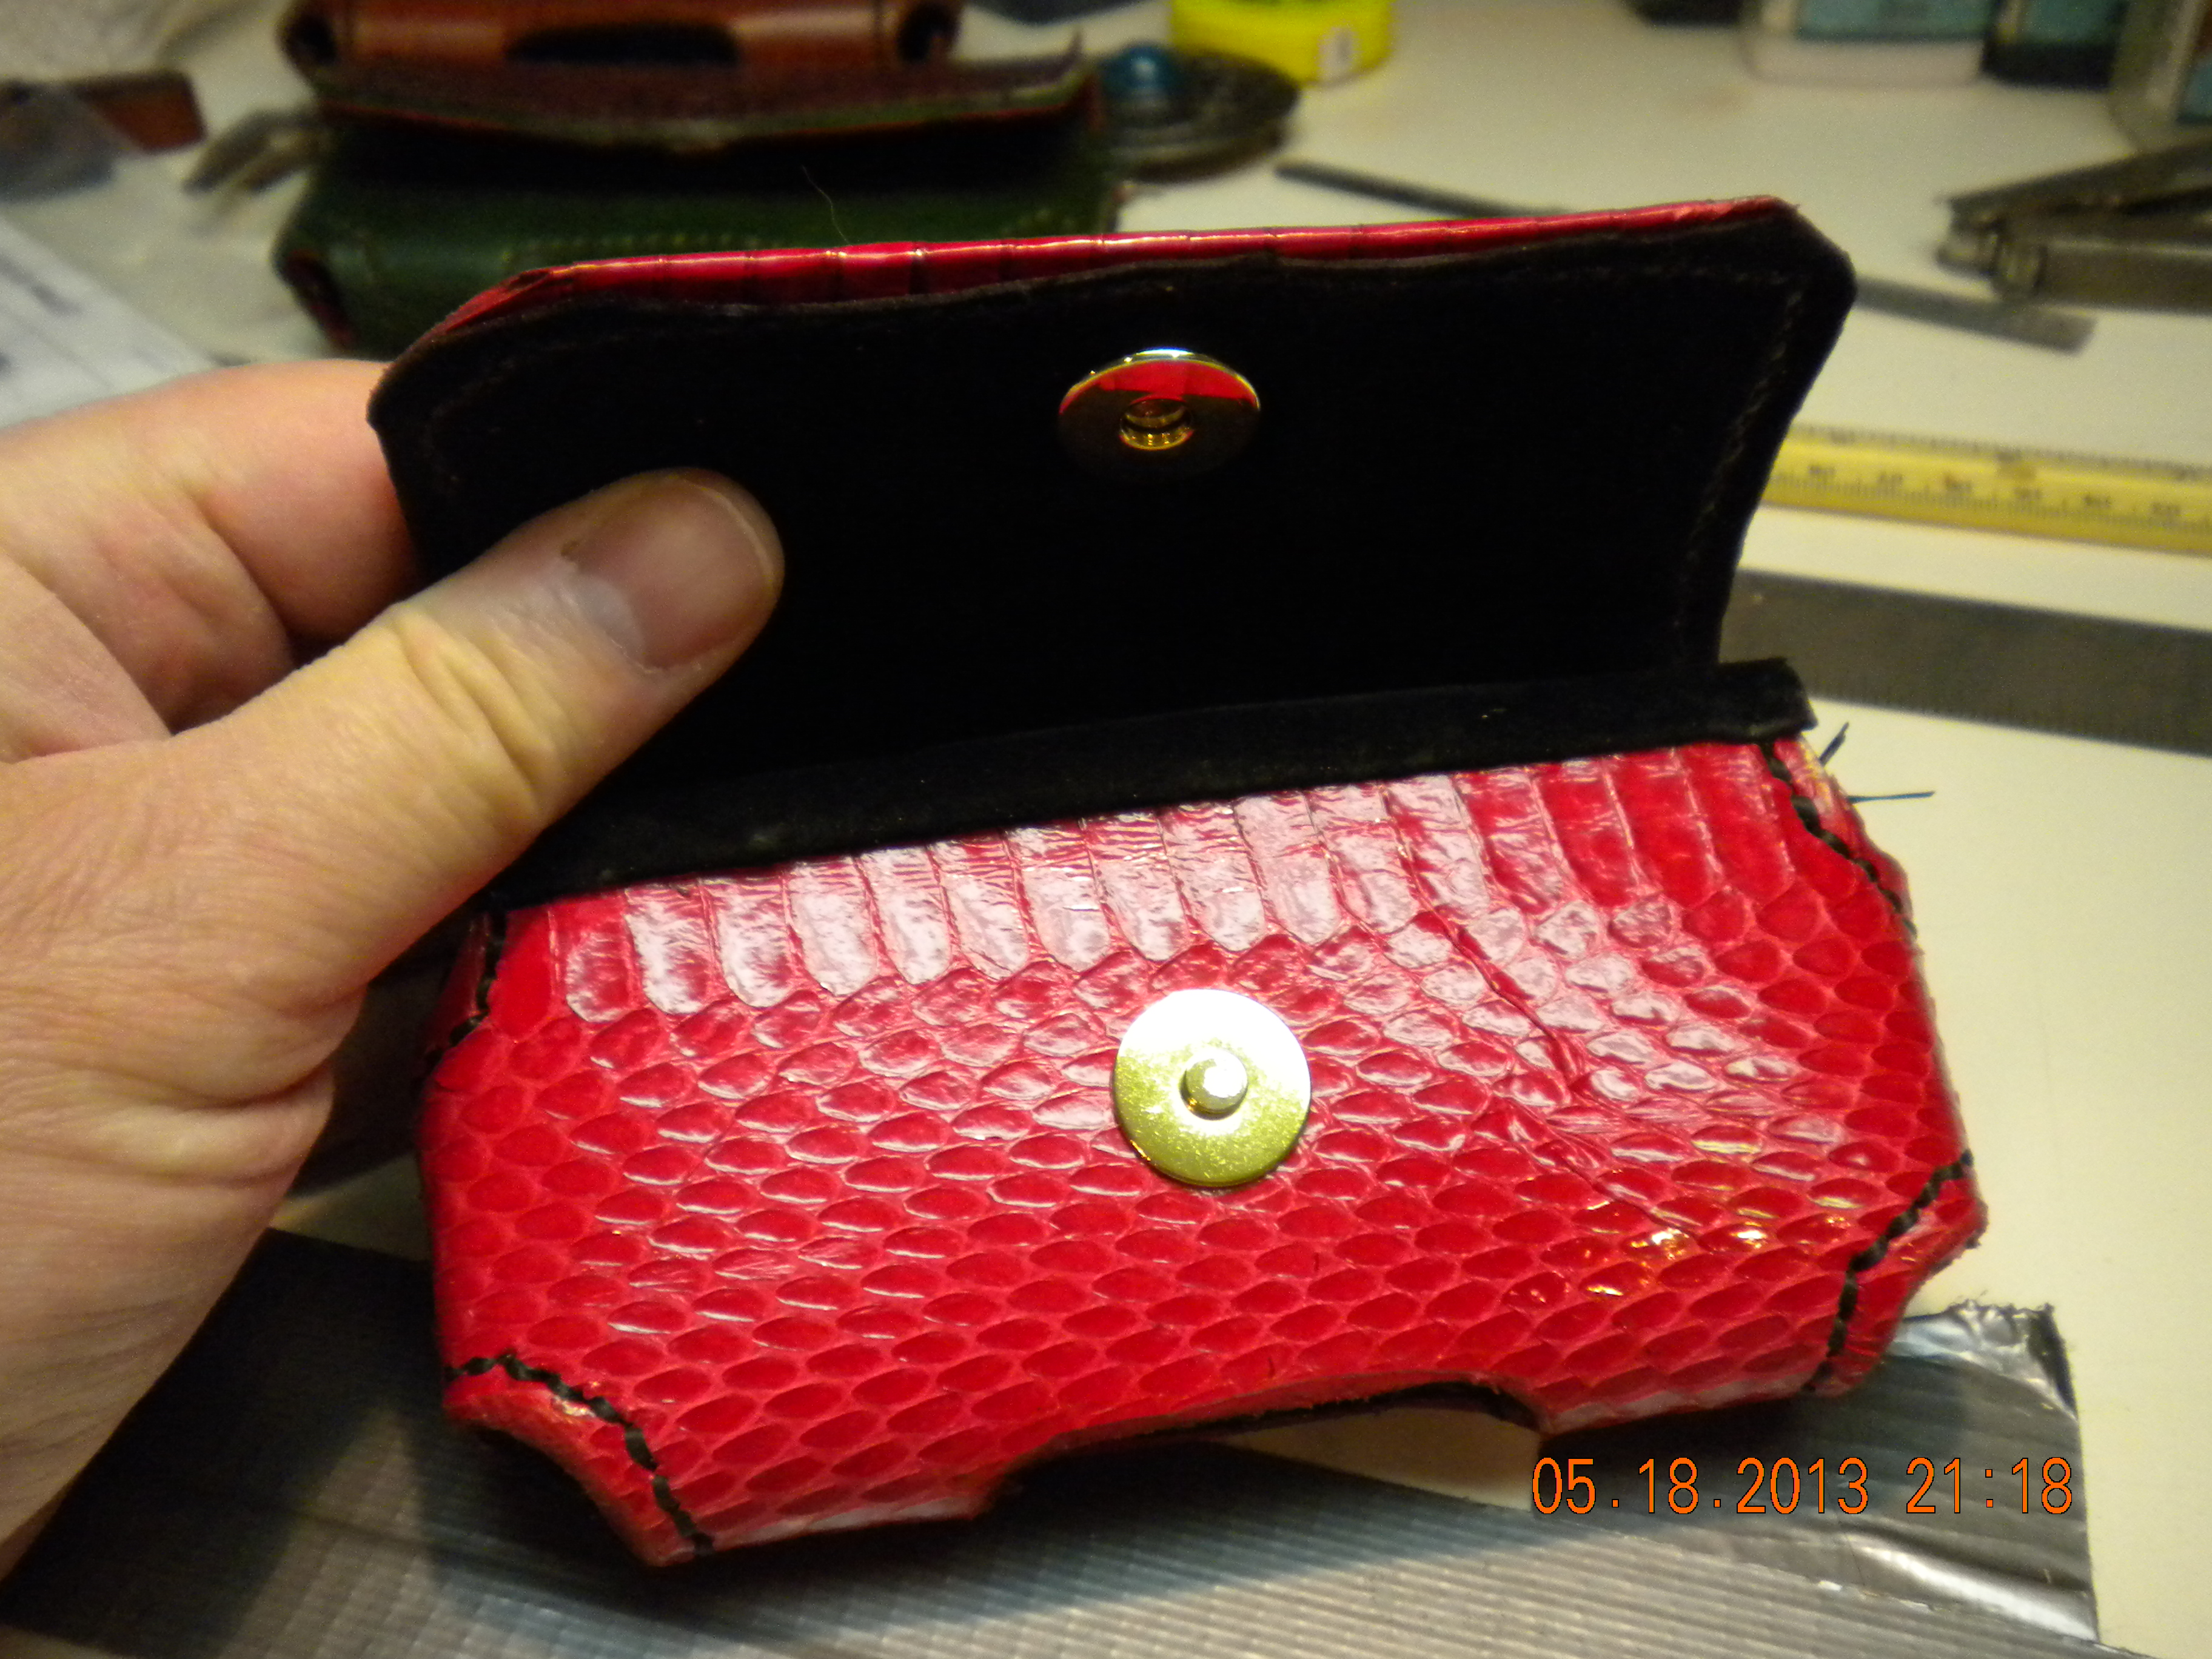
Now comes the awkward part — attaching the magnetic case latch. You do not want the latch to rub the phone or it might result in scratching, and you want your project to look professional without a lot of excessive fix-em-up work to cover prongs and ruff edges, so you must be a bit clever about what you install when. Of course if you are using a press fit snap, there are similar concerns. For this part you will need to see how I did things and then use your own smarts for your own project.


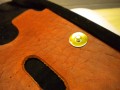
Install the bottom piece — the stud if you are using a snap — after you have attached the pigskin to the top edge, but before you cement it to the inside. In this way the metal edge of the snap or magnetic case latch will be under the pigskin and not touch the phone. The cap of the snap is pretty straightforward: you attach it to the flap so it properly snaps into the stud after the pigskin and snakeskin are attached and the case has been stitched. The top piece of the magnetic case latch is a bit more clever as it must be on the outside of the pigskin to catch the bottom latch, but under the snakeskin on the outside of the flap. If you are not covering the case with snakeskin there is also a trick to get the latch attached without having two ugly metal prongs sticking out the top of your nice case, but you must do it before you cement the pigskin to the inside.
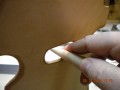
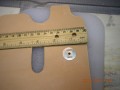
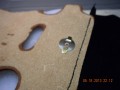
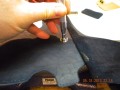
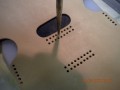
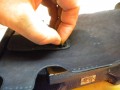
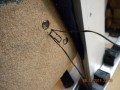
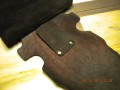
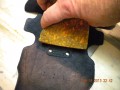
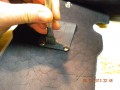
Measure down from the edge of the bottom flap about 1 1/8 inches. Measure in from the edges so the hole is centered. Punch a small round hole there. Use the metal plate that comes with the magnetic latch as a template to cut out the area where the two prongs must pass through the leather to the inside. Slide the bottom part of the latch into the slits, put the metal plate over the metal prongs on the back of the leather and flatten the prongs outward to hold the latch.

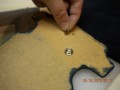
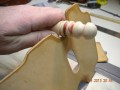
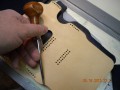
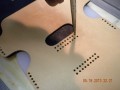
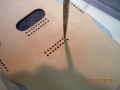
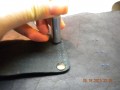
Now attach the belt loop. The part of the loop nearest the oval cutout is the bottom of the loop. Begin by marking the where the holes belong using the punch awe. You need not punch a hole, simply indent the leather enough that you can find the spots. I mark the corner holes and one hole in the middle of each line so I can see where to punch with the stitching chisel later. Place the belt loop piece UPSIDE DOWN over the top rivet holes. Notice that the rivet holes are in the TOP corners of the phone case back, and in the SECOND row of the belt loop. This is so they line up properly with the belt loop piece upside down. Rivet the top end of the belt loop in place, then use the stitching chisel to punch appropriate holes for stitching in two rows between the rivets.
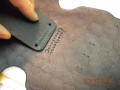
Stitch away. I prefer a saddle stitch. You will need about 4 times the length of the two rows of holes in thread. Tie the square knot on the back side of the leather where it will be covered by the rubber cement and pigskin liner.

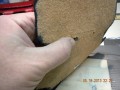
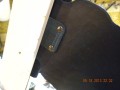
Now do likewise for the bottom end of the belt loop. First, so the loop will bend easily, wet a sponge and use it to dampen the belt loop piece immediately above where you have just stitched it to the back of the phone case. The water will relax the leather and it will become much easier to bend in a few moments. Bend the belt loop piece down so it lines up with the bottom holes, punch the rivet holes in the back of the phone case and in the belt loop, set the rivets, punch the stitching holes between the rivets using the stitching chisel, stitch it up solid.

Now clean off the pigskin leather by wiping any detritus off. Lay it flat on the table top and coat the smart phone case inside back leather with the rubber cement. Start in the middle and quickly work the cement out to the edges to cover. It will dry very quickly so move fast. You may need to add a bit more cement near the edges if it dries too quickly — you want the pigskin to stick very well especially at the edges. Avoid getting excess cement on the pigskin’s good side.
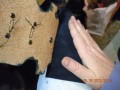
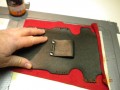

Smooth the pigskin out across the inside of the case. Rub out all wrinkles. Place it under a weight until tomorrow so the cement can set up.
Tomorrow we will see how to finish the smart phone case, and if snakeskin is to cover the outside of the case how to handle that.